
Environment: Tested and worked on Ubuntu 20.04 to Ubuntu 24.04.
While maintaining the PDF renderer for the tldr-page project, I came across the handy library WeasyPrint. Here are three ways to use it. Install it via pip:
1
pip install weasyprint
Converting HTML into a automatic paginated PDF
First, I found an HTML example from W3C:
mystyle.css
1
2
3
4
5
6
7
8
9
10
11
12
13
14
15
16
17
18
19
20
21
22
23
24
25
26
27
28
29
30
31
32
33
34
35
36
37
38
39
40
41
42
43
44
45
body {
    padding-left: 11em;
    font-family: Georgia, "Times New Roman", Times, serif;
    color: purple;
    background-color: #d8da3d
}

ul.navbar {
    list-style-type: none;
    padding: 0;
    margin: 0;
    position: absolute;
    top: 2em;
    left: 1em;
    width: 9em
}

h1 {
    font-family: Helvetica, Geneva, Arial, SunSans-Regular, sans-serif
}

ul.navbar li {
    background: white;
    margin: 0.5em 0;
    padding: 0.3em;
    border-right: 1em solid black
}

ul.navbar a {
    text-decoration: none
}

a:link {
    color: blue
}

a:visited {
    color: purple
}

address {
    margin-top: 1em;
    padding-top: 1em;
    border-top: thin dotted
}
mydoc.html
1
2
3
4
5
6
7
8
9
10
11
12
13
14
15
16
17
18
19
20
21
22
23
24
25
26
27
28
29
30
31
<!DOCTYPE html PUBLIC "-//W3C//DTD HTML 4.01//EN">
<html>
<head>
<title>My first styled page</title>
<link rel="stylesheet" href="mystyle.css">
</head>
<body>
<!-- Site navigation menu -->
<ul class="navbar">
<li><a href="index.html">Home page</a></li>
<li><a href="musings.html">Musings</a></li>
<li><a href="town.html">My town</a></li>
<li><a href="links.html">Links</a></li>
</ul>
<!-- Main content -->
<h1>My first styled page</h1>
<p>Welcome to my styled page!</p>
<p>It lacks images, but at least it has style. And it has links, even if they don't go anywhere…</p>
<p>There should be more here, but I don't know what yet.</p>
<!-- Sign and date the page, it's only polite! -->
<address>Made 5 April 2004<br>
by myself.</address>
</body>
</html>
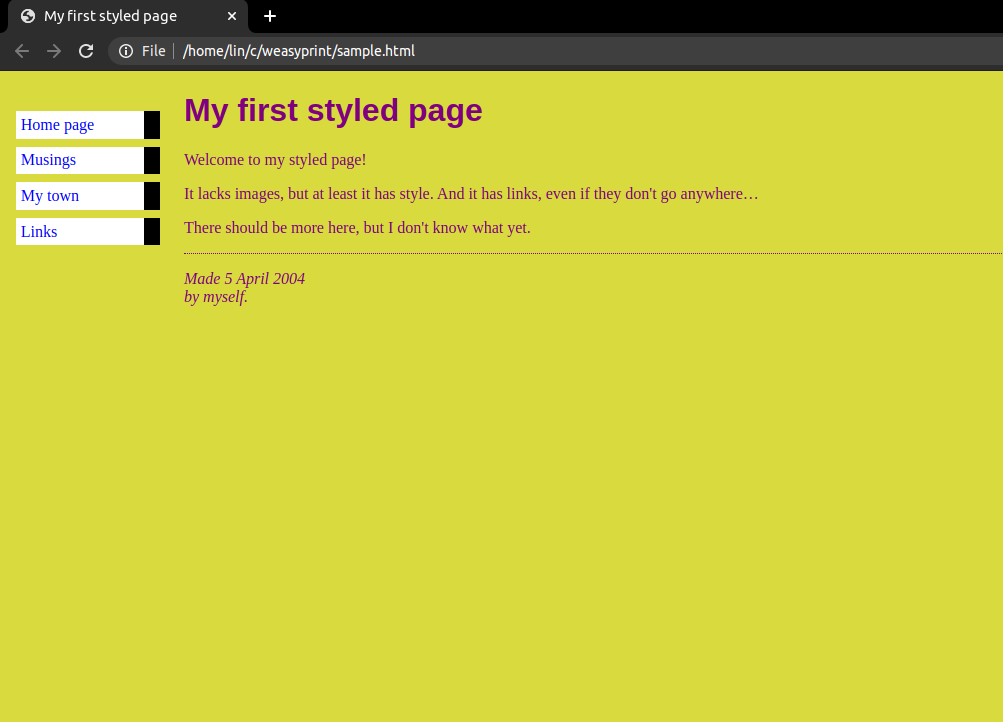
Place mydoc.html and mystyle.css in the same directory to generate the following preview in a browser:
Next, we write a small Python script in the current directory:
convert.py
1
2
from weasyprint import HTML
HTML("mydoc.html").write_pdf("mydoc.pdf")
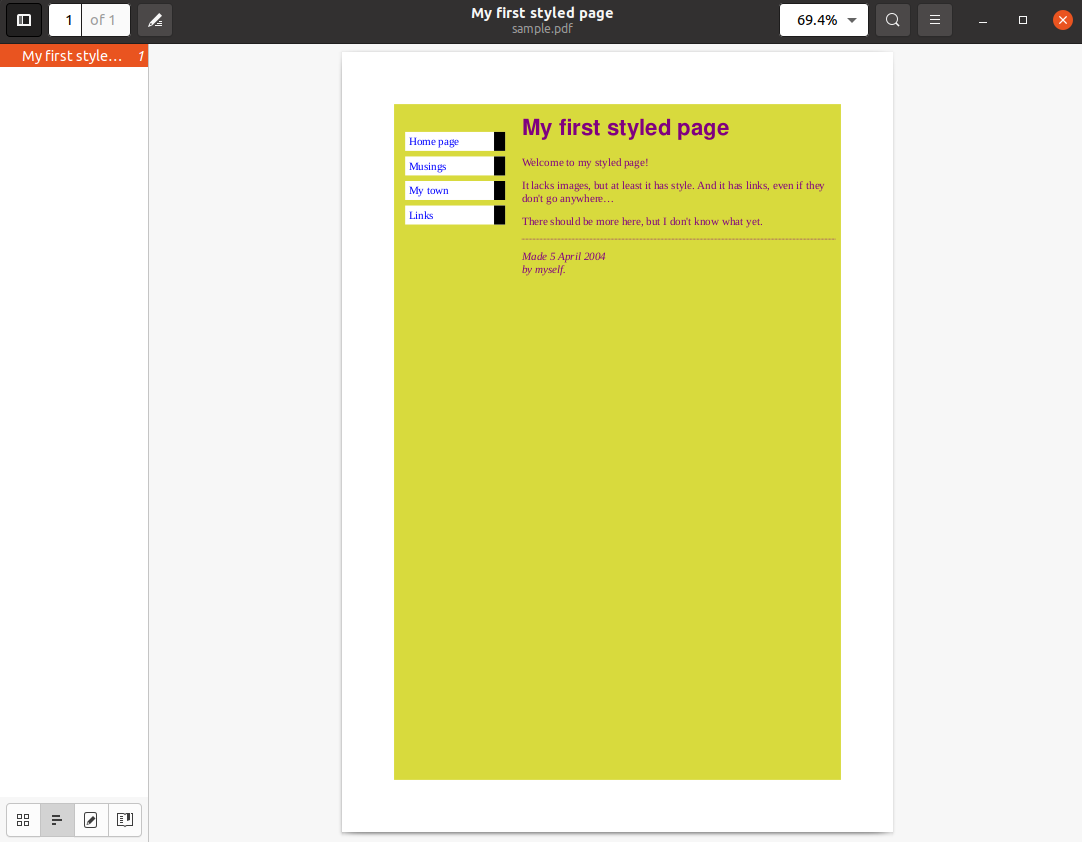
After running the script, you will get a beautiful PDF file:
1
python convert.py
Converting an HTML String to a Paginated PDF
The coding logic is similar to reading an HTML file, but when you need to include all CSS filenames in a list and pass it as a parameter to WeasyPrint. We’ll use the same mydoc.html and mystyle.css as examples.
convert_string.py
1
2
3
4
5
6
7
8
9
10
from weasyprint import HTML, CSS

# Append as many style sheets as you want
csslist = []
csslist.append(CSS("mystyle.css"))

with open('mydoc.html', 'r') as file:
    # convert HTML string to PDF file
    data = file.read()
    HTML(string=data).write_pdf("mydoc2.pdf", stylesheets=csslist)
Manual Page Breaks
One of the key differences between a PDF and a text document is pagination. When converting a long web page into a PDF, you need to consider the layout. We can use:
1
<p style="page-break-before: always"></p>
to force the content below this line of HTML to move to the next page. Add this line whenever you need a manual page break. Here is another document example:
mydoc.html
1
2
3
4
5
6
7
8
9
10
11
12
13
14
15
16
17
18
19
20
21
22
23
24
25
26
<!DOCTYPE html PUBLIC "-//W3C//DTD HTML 4.01//EN">
<html>
<head>
    <title>Hello World</title>
</head>
<body>
    <!-- Main content -->
    <h1>What is GitHub?</h1>
    <p>GitHub is a code hosting platform for version control and collaboration. It lets you and others work together on projects from anywhere.</p>
    <p>This tutorial teaches you GitHub essentials like repositories, branches, commits, and Pull Requests. You’ll create your own Hello World repository and learn GitHub’s Pull Request workflow, a popular way to create and review code.</p>
    <h2>No coding necessary</h2>
    <p>To complete this tutorial, you need a GitHub.com account and Internet access. You don’t need to know how to code, use the command line, or install Git (the version control software GitHub is built on).</p>

    <h1>Step 1. Create a Repository</h1>
    <p>A repository is usually used to organize a single project. Repositories can contain folders and files, images, videos, spreadsheets, and data sets – anything your project needs. We recommend including a README, or a file with information about your
        project. GitHub makes it easy to add one at the same time you create your new repository. It also offers other common options such as a license file.</p>
    <p>Your hello-world repository can be a place where you store ideas, resources, or even share and discuss things with others.</p>
    <h2>To create a new repository</h2>
    <ol>
        <li>In the upper right corner, next to your avatar or identicon, click and then select New repository.</li>
        <li>Name your repository hello-world.</li>
        <li>Write a short description.</li>
        <li>Select Initialize this repository with a README.</li>
    </ol>
</body>
</html>
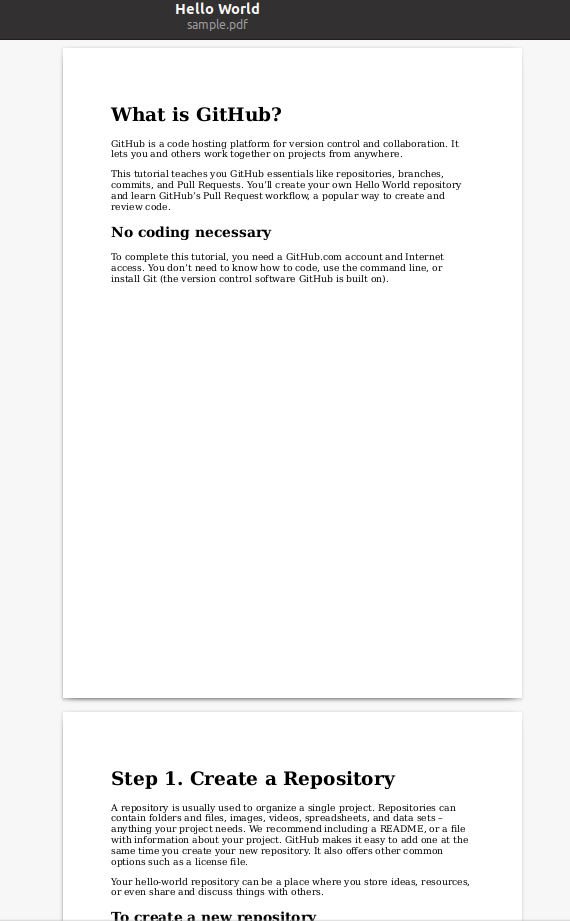
After converting with convert.py, the resulting PDF will look like this:

Generally, we would want major headings to appear at the beginning of each page. To achieve this, you can place the <p style="page-break-before: always"></p> before each <h1></h1> heading, like so:
1
2
3
4
5
6
7
    ...use the command line, or install Git (the version control software GitHub is built on).</p>

    <!-- the folowing will be in next page -->
    <p style="page-break-before: always" ></p>

    <h1>Step 1. Create a Repository</h1>
    <p>A repository is usually used to organize a single project...
By converting again using convert.py, you will have the <h1></h1> and its paragraph placed in the next page:
Comments powered by Disqus.